
Garlic, with its pungent flavor and versatile culinary applications, is a staple in kitchens worldwide. While it’s often used raw or sautéed, boiling garlic mellows its intensity and unlocks a unique sweetness. Whether you’re a seasoned chef or a curious home cook, understanding the intricacies of boiling garlic can elevate your culinary creations.
Why Boil Garlic?
Boiling garlic offers several advantages:
- Milder Flavor: Boiling softens garlic’s bite, making it palatable for those sensitive to its raw pungency.
- Sweetness: Heat converts some of garlic’s sulfur compounds into sugars, resulting in a subtle sweetness.
- Digestibility: Boiled garlic may be easier to digest for some individuals.
- Versatility: Boiled garlic can be mashed, blended, or incorporated into various dishes.
Boiling Time: The Key to Perfection
The ideal boiling time for garlic depends on your desired outcome:
- Quick Blanch (1-2 minutes): Briefly boiling garlic removes some of its harshness while maintaining a slight crunch. This is perfect for salads or adding to stir-fries.
- Softened (5-7 minutes): This results in tender garlic cloves that are easy to mash or blend. Great for making garlic sauces or spreads.
- Fully Cooked (10-15 minutes): This yields very soft garlic that can be easily incorporated into soups, stews, or mashed potatoes.
Before Boiling: Preparation Tips
- Choose Fresh Garlic: Look for firm bulbs with intact cloves. Avoid garlic with soft spots or sprouts.
- Separate the Cloves: Gently separate the cloves from the bulb. No need to peel them yet.
- Optional Smashing: If desired, lightly smash each clove with the flat side of a knife. This can help release flavor and shorten cooking time.
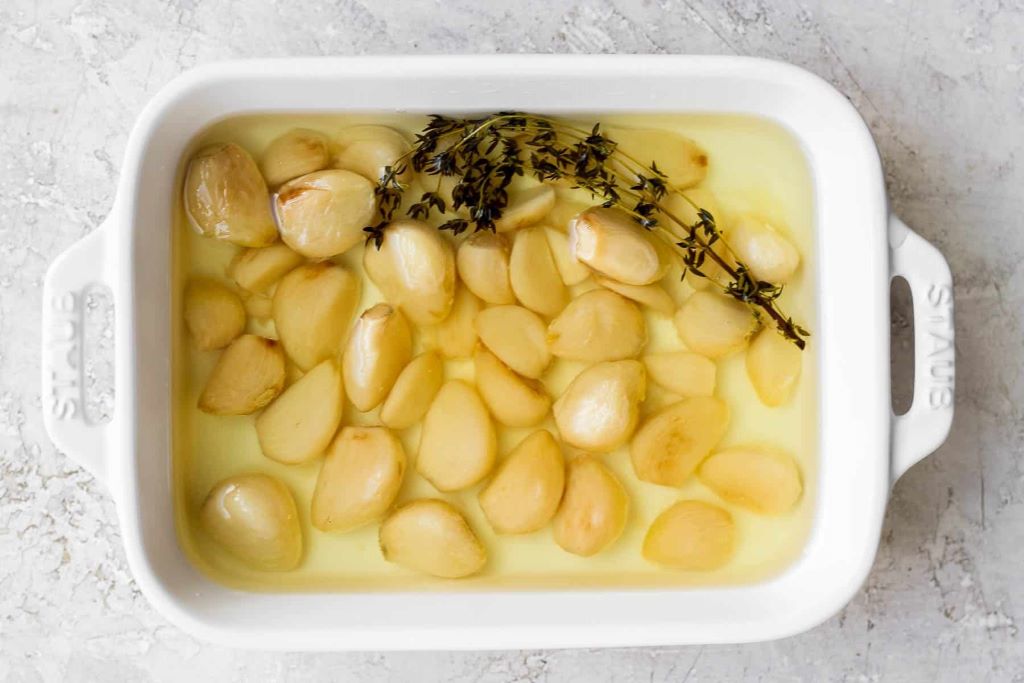
The Boiling Process
- Bring Water to a Boil: Fill a saucepan with enough water to cover the garlic cloves. Add a pinch of salt.
- Add Garlic: Once the water reaches a rolling boil, carefully add the garlic cloves.
- Start the Timer: Begin timing immediately after adding the garlic.
- Test for Doneness: After the recommended boiling time, insert a fork or knife into a clove. It should be tender and easily pierceable.
- Drain and Rinse: Carefully drain the garlic and rinse it under cold water to stop the cooking process.
After Boiling: Storage and Serving Ideas
- Storage: Boiled garlic can be stored in an airtight container in the refrigerator for up to a week.
- Serving: Mashed boiled garlic is delicious on toast or as a base for dips. It can also be blended into sauces, added to mashed potatoes, or stirred into soups and stews.
Additional Tips and Considerations
- Milk: Adding a splash of milk to the boiling water can help mellow the garlic’s flavor further.
- Aroma: Be prepared for a strong garlic aroma during boiling. Ventilate your kitchen well.
- Peeling: Boiled garlic is much easier to peel than raw garlic. The skins should slip off easily.
- Flavor Variations: Experiment with adding herbs, spices, or even a splash of lemon juice to the boiling water for unique flavor profiles.
Beyond Boiling: Exploring Other Cooking Methods
While boiling is a simple and effective way to cook garlic, consider these alternative methods:
- Roasting: Roasting garlic cloves in the oven caramelizes their sugars, resulting in a sweet and nutty flavor.
- Grilling: Grilled garlic develops a smoky aroma and a slightly charred exterior.
- Sautéing: Quickly sautéing sliced or minced garlic in oil infuses it with flavor and adds depth to dishes.
Boiling garlic is a fundamental culinary technique that can transform this pungent ingredient into a versatile and flavorful addition to your meals. By understanding the boiling times, preparation tips, and serving suggestions, you can confidently explore the delicious possibilities of boiled garlic.