
Grout lines in bathroom tiles can turn a pristine space into a grimy eyesore if neglected. Over time, dirt, mold, and mildew settle into the porous surface, making regular cleaning tough. Deep cleaning grout restores your bathroom’s shine and hygiene. As a homeowner, I once struggled with stubborn grout stains that seemed impossible to remove. After trying various methods, I found effective techniques that transformed my tiles. This guide shares actionable steps to deep clean grout lines, ensuring a spotless finish. You’ll learn practical tips, backed by research, to tackle even the toughest stains. Let’s dive into making your bathroom sparkle again. Ready to get started? Follow these steps and share your results in the comments below!
Why Grout Lines Get Dirty and Why It Matters
Grout is a porous material, typically made of cement, sand, and water, which absorbs dirt and moisture easily. In bathrooms, constant exposure to water, soap scum, and humidity creates a breeding ground for mold and mildew, whether you have a Bath vs. Shower setup. According to the Centers for Disease Control and Prevention (CDC), mold can grow within 24–48 hours in damp conditions, posing health risks like allergies or respiratory issues. Dirty grout not only looks bad but can also harbor bacteria, affecting indoor air quality.
I noticed this in my own bathroom when dark patches appeared despite regular mopping. Ignoring grout buildup can lead to costly tile replacements. Deep cleaning prevents damage and extends tile life. Regular maintenance, combined with periodic deep cleaning, keeps your bathroom safe and inviting. Start by understanding the mess—then tackle it with the right approach.
Tools and Supplies You’ll Need
Before diving in, gather the right tools to make the job easier and effective. Having everything ready saves time and ensures thorough cleaning. Here’s what you’ll need:
- Stiff-bristled brush: Ideal for scrubbing grout without damaging tiles.
- Baking soda: A natural abrasive to lift stains.
- White vinegar: Breaks down grime and kills mold.
- Hydrogen peroxide: Tackles tough stains and disinfects.
- Spray bottle: For applying cleaning solutions evenly.
- Microfiber cloths: Absorbs dirt and dries surfaces.
- Gloves and mask: Protects against chemicals and mold spores.
- Bucket: For mixing solutions or soaking tools.
According to a study by the American Cleaning Institute, using non-toxic cleaners like vinegar reduces indoor chemical exposure. I found that having a dedicated grout brush made a huge difference compared to using an old toothbrush. Stock up on these supplies, and you’re ready to clean efficiently. Always test products on a small area first to avoid tile damage.
Step-by-Step Guide to Deep Cleaning Grout Lines
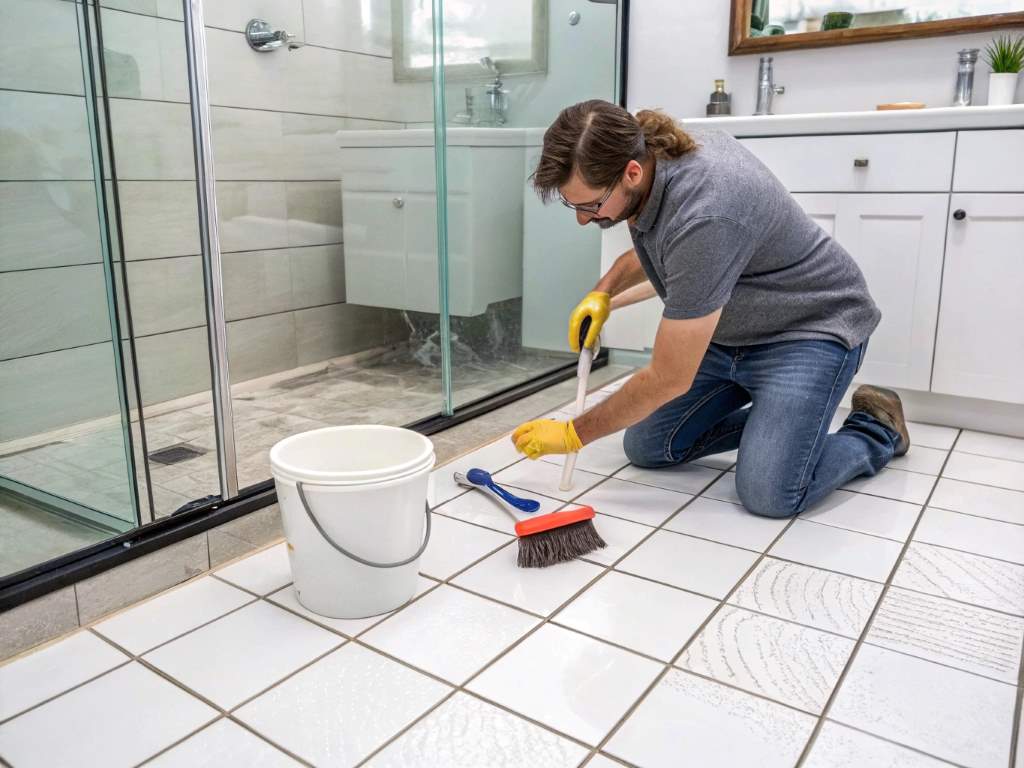
Deep cleaning grout requires a clear process to achieve lasting results. Follow these steps for a sparkling bathroom:
- Clear the Area: Remove rugs, towels, or items near the tiles to avoid mess.
- Sweep or Vacuum: Get rid of loose dirt to prevent scratching tiles during scrubbing.
- Make a Cleaning Solution: Mix equal parts water and vinegar in a spray bottle. Add a tablespoon of baking soda for extra power.
- Apply the Solution: Spray generously on grout lines, letting it sit for 5–10 minutes to loosen grime.
- Scrub Thoroughly: Use a stiff brush in circular motions. Focus on stained areas but avoid over-scrubbing to protect grout.
- Rinse Well: Wipe with a damp microfiber cloth to remove residue. Dry with a clean towel.
- Tackle Stubborn Stains: Apply hydrogen peroxide to tough spots, let it sit for 10 minutes, then scrub again.
I tried this method on my shower tiles, and the transformation was incredible after one session. Rinse thoroughly to prevent sticky residue. For best results, clean small sections at a time.
Natural vs. Commercial Cleaners: What Works Best?
Choosing between natural and commercial cleaners depends on your needs. Natural options like vinegar and baking soda are eco-friendly and safe for most tiles. They’re effective for light to moderate stains. A 2020 study by the Environmental Protection Agency (EPA) found that vinegar kills 99% of bacteria on surfaces, making it a solid choice.
Commercial cleaners, however, pack a punch for heavy stains or mold. Products with oxygen bleach or chlorine are fast-acting but require ventilation due to strong fumes. I used a commercial cleaner once for black mold and was amazed at the speed, though the smell was overpowering. Always read labels to ensure compatibility with your tiles.
Natural cleaners suit regular maintenance, while commercial ones are best for deep, infrequent cleans. Combine both for balance—start with vinegar, then use a commercial product for stubborn spots.
Preventing Grout Stains in the Future
Prevention is key to keeping grout clean longer. After deep cleaning, take steps to maintain that shine. First, seal grout lines every 6–12 months. Sealants create a barrier against moisture and dirt. According to Tile Council of North America, sealed grout lasts up to 50% longer without staining.
Second, dry tiles after showers to reduce humidity. I started using a squeegee, and it cut down on mildew significantly. Third, clean spills or soap scum immediately to avoid buildup. Weekly wiping with a vinegar solution helps, too. Ventilation is crucial—run a fan or open windows during and after showers.
I learned this the hard way when unsealed grout in my bathroom darkened within months. Now, I seal yearly, and the difference is night and day. Small habits like these save time and effort. For more tips, visit CDC’s mold prevention guide. Stay proactive, and your tiles will stay pristine.
Common Mistakes to Avoid When Cleaning Grout
Even with good intentions, mistakes can damage grout or tiles. Avoid these pitfalls for better results:
- Using Too Much Water: Excess moisture seeps into grout, weakening it over time.
- Skipping Rinsing: Leftover cleaner residue attracts dirt faster.
- Using Abrasive Tools: Metal brushes or scouring pads scratch tiles and erode grout.
- Ignoring Ventilation: Trapped moisture encourages mold growth.
- Not Testing Cleaners: Some solutions can discolor grout or harm tiles.
I once used a steel wool pad, thinking it would speed things up, only to find scratches on my tiles. Another time, I skipped rinsing, and my grout looked hazy. Always rinse thoroughly and use soft brushes. Test cleaners on a hidden spot first. Proper techniques protect your investment and keep your bathroom looking fresh.
Conclusion
Deep cleaning grout lines transforms your bathroom into a clean, healthy space. By following these steps—gathering tools, using effective cleaners, and preventing future stains—you’ll achieve professional results at home. My own experience taught me that patience and the right methods make all the difference. Regular maintenance saves time and money in the long run. Plus, a spotless bathroom feels incredibly rewarding.
Now it’s your turn. Try these tips and see the difference for yourself. Have a favorite cleaning hack? Share it in the comments below or spread the word by sharing this guide with friends. Let’s keep our bathrooms shining!
FAQs
How often should I deep clean grout lines?
Deep clean grout every 6–12 months, depending on bathroom use. Regular wiping prevents heavy buildup.
Can I use bleach to clean grout?
Yes, diluted bleach works for tough stains, but ventilate well and rinse thoroughly to avoid damage.
Why does my grout still look dirty after cleaning?
Residue or unsealed grout may trap dirt. Rinse well and apply a sealant for lasting results.
Is it safe to mix vinegar and baking soda?
Yes, it’s safe and creates a fizzy reaction that lifts grime. Use it fresh for best results.
How do I know if my grout needs replacing?
Cracked, crumbling, or persistently stained grout may need replacement. Consult a professional for assessment.