
Roofing is a skill that blends precision, patience, and a bit of grit. Whether you’re a DIY enthusiast or a homeowner looking to save on labor costs, learning how to asphalt shingle a roof can be incredibly rewarding. Asphalt shingles are popular for their durability, affordability, and ease of installation. In fact, according to the Asphalt Roofing Manufacturers Association (ARMA), over 80% of U.S. homes use asphalt shingles due to their versatility and weather resistance. However, the process requires careful planning and execution to ensure a leak-free, long-lasting roof.
I remember my first roofing project—a small shed in my backyard. The satisfaction of nailing that final shingle was unmatched, though I’ll admit I underestimated the prep work. That experience taught me the value of doing it right the first time. In this guide, I’ll walk you through actionable steps, share tips from my journey, and provide expert-backed advice. Let’s get started!
Why Choose Asphalt Shingles?
Asphalt shingles dominate the roofing market for good reason. They’re cost-effective, with prices ranging from $1 to $4 per square foot, depending on quality, as noted by HomeAdvisor. Additionally, they come in various styles and colors, offering aesthetic flexibility. Their lifespan—typically 20 to 30 years—makes them a solid investment.
Beyond economics, asphalt shingles are lightweight and easy to handle, ideal for DIYers. They also perform well against wind, rain, and UV rays when installed correctly. However, improper installation can cut their lifespan by half, according to a 2022 study by the National Roofing Contractors Association (NRCA). That’s why following a structured process is crucial. Ready to dive in?
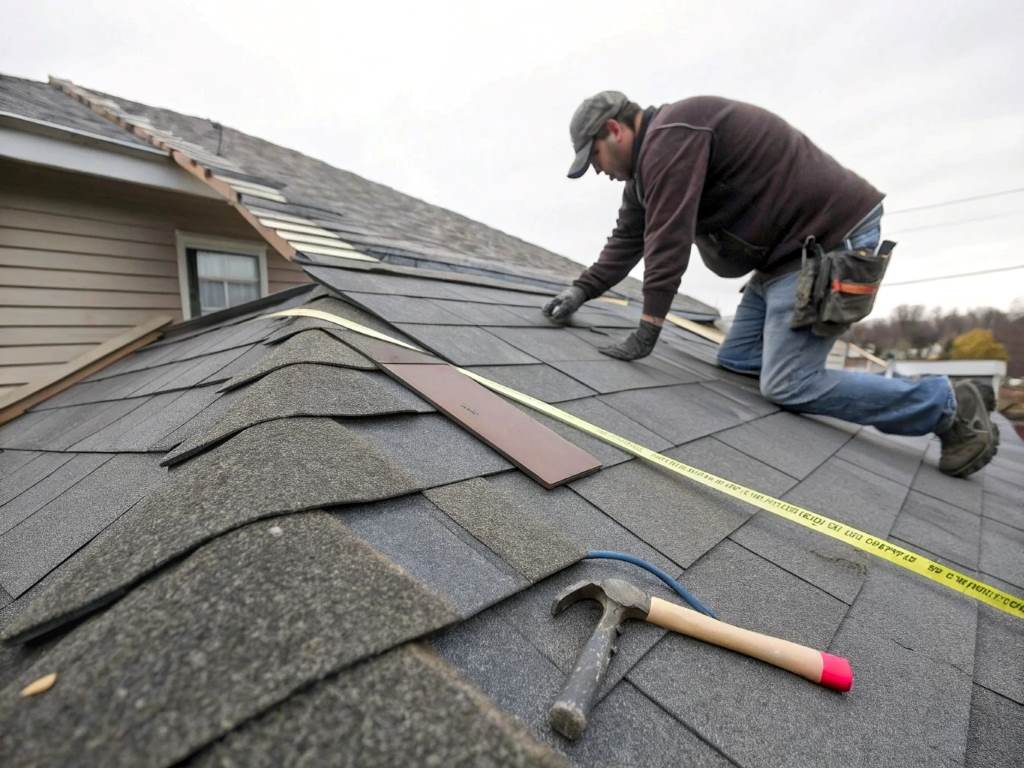
Tools and Materials You’ll Need
Preparation is key to a smooth roofing project. Here’s what you’ll need:
- Asphalt shingles: Calculate your roof’s square footage and add 10% for waste.
- Roofing nails: Use 1¼-inch galvanized nails, about 4–6 per shingle.
- Underlayment: Felt paper or synthetic options for water protection.
- Drip edge: Metal flashing to direct water away from edges.
- Tools: Hammer, utility knife, chalk line, ladder, and safety gear (harness, gloves).
I once skipped the drip edge to save time, only to deal with water seepage later. Moss on roof surfaces can worsen such issues, trapping moisture and causing damage. Don’t make that mistake—every piece matters. Check your local hardware store for quality materials.
Step 1: Prepare the Roof Surface
Before laying shingles, ensure the roof deck is clean and solid. Remove old shingles, nails, and debris. Inspect the plywood for rot or damage, replacing weak spots as needed. A study by ARMA suggests that 15% of roof leaks stem from poor deck preparation.
Next, install the underlayment. Roll it out flat, overlapping seams by 4 inches, and secure it with staples. Then, attach the drip edge along the eaves using roofing nails. This step prevents water from sneaking under your shingles. Take your time here—it’s the foundation of a watertight roof.
Step 2: Install Starter Shingles
Starter shingles create a solid base for the first row. Cut the tabs off a standard shingle, leaving a continuous strip. Align it with the drip edge, overhanging by ½ inch, and nail it down every 12 inches. This seals the edge against wind uplift—a common issue in storms, per NRCA data showing 20% of shingle failures tie to poor starters.
I learned this the hard way when a windy day lifted my first attempt. Double-check your alignment with a chalk line. It’s a small step that pays off big.
Step 3: Lay the First Row and Beyond
Now, the fun begins—laying full shingles. Start at the bottom left corner, aligning the first shingle with the starter strip. Nail it 1 inch above the cutout, using 4 nails per shingle (6 in high-wind areas). Offset each row by half a tab to stagger seams, preventing leaks.
Work your way up, keeping rows straight with a chalk line. I once rushed this and ended up with a wavy roofline—ugly and inefficient. Patience here ensures a professional finish. Aim for a rhythm: align, nail, repeat.
Step 4: Handle Valleys and Flashings
Roof valleys—where two slopes meet—need extra care. Use the “open valley” method: install metal flashing, then cut shingles to fit, leaving a 6-inch gap over the flashing. Secure with nails, but keep them 2 inches from the center to avoid punctures.
For chimneys or vents, install step flashing and seal with roofing cement. According to the NRCA, 30% of leaks occur at flashings due to sloppy work. Take it slow—I’ve seen water damage ruin interiors because of skipped details here.
Step 5: Cap the Ridge
The ridge is your roof’s crown. Use ridge cap shingles (pre-cut or made by slicing standard shingles into thirds). Bend them over the peak, nailing on each side. Overlap each piece by 5 inches for a tight seal.
My shed’s ridge looked amateurish until I mastered this. A clean ridge boosts curb appeal and wind resistance. Check your work from the ground—small flaws stand out.
Safety Tips for Roofing Success
Roofing isn’t just about technique—it’s about staying safe. Wear a harness tethered to an anchor, especially on steep slopes. The Occupational Safety and Health Administration (OSHA) reports over 100 roofing fatalities yearly, often from falls.
Work on dry days to avoid slips, and keep your ladder stable. I nearly toppled once when my ladder shifted—scary stuff. Wear gloves and sturdy shoes, too. Safety first means you’ll finish the job.
Common Mistakes to Avoid
Even pros mess up sometimes. Don’t overdrive nails—it cracks shingles. Space them evenly, not too close to edges. Also, avoid mixing shingle brands; they won’t match in color or performance.
Skipping ventilation is another pitfall. Poor airflow traps heat, slashing shingle life by years, per ARMA findings. Install vents if needed—I ignored this once and regretted it when summer heat warped my work.
Conclusion
Asphalt shingling a roof is a hands-on challenge that pays off with a sturdy, stylish result. From prepping the deck to capping the ridge, each step builds toward success. With the right tools, a methodical approach, and safety in mind, you’ll transform your roof like a pro. My first project taught me that shortcuts lead to leaks—stick to the process, and you’ll be proud of the outcome.
Ready to tackle your roof? Share your progress or questions in the comments—I’d love to hear from you! If this guide helped, pass it along to a fellow DIYer.
FAQs
How long do asphalt shingles last?
Asphalt shingles typically last 20–30 years, depending on quality and weather conditions (ARMA).
Can I shingle over old shingles?
Yes, but only if the old layer is flat and intact. NRCA advises removing damaged shingles first.
How many nails should I use per shingle?
Use 4 nails per shingle, or 6 in high-wind areas, placed 1 inch above the cutout.
What’s the best weather for roofing?
Dry, mild days (50–80°F) are ideal. Wet or windy conditions increase risks and errors.
Do I need a professional for valleys and flashings?
DIY is fine with care, but pros ensure leak-proof results if you’re unsure.