
Water pooling around the base of your tank is one of the few home problems that demands an answer to Water Heater Leaking From the Bottom: What to Do Now before you do anything else. That puddle is not cosmetic. A tank holds forty to eighty gallons of hot water under pressure, and a bottom leak rarely fixes itself.
Quick answer: Shut off the power or gas to the unit first, then close the cold-water inlet valve on top of the tank. A leak from the tank shell itself means replacement, not repair. A leak from a fitting, drain valve, or T&P pipe is often a cheap fix.
This guide separates the failures you can repair from the ones that mean a new heater. It also covers the exact steps to take in the first ten minutes.
What is Water Heater Leaking From the Bottom: What to Do Now?
The phrase describes a specific, urgent situation: water is escaping from the base of a tank-style water heater and you need to act within minutes. The location of the water tells you most of what you need to know.
Start by identifying where the drip originates. Water on the floor can come from five common sources:
- The tank shell — a rusted or cracked steel body. This is a terminal failure.
- The drain valve — a small spigot near the bottom, often loose or worn.
- The T&P valve — a relief valve with a pipe that runs down the tank side.
- Inlet and outlet connections — the nipples on top that sometimes drip down the shell.
- Condensation — cool tanks in humid spaces sweat and leave small puddles.
A failing tank usually shows rust-colored water or a bulge at the seam. Fitting leaks tend to be clear water with a visible drip point. Condensation appears as a thin film rather than a steady stream.
A quick check separates them: dry the floor, place a dry paper towel beneath the suspect point, and check back in an hour. Clear water that returns steadily points to a fitting; a damp towel with no visible drip usually means condensation, which improved ventilation or a tank blanket often solves.
The first five minutes
Safety comes before diagnosis. If the heater is electric, switch off the breaker at the panel. For gas, turn the dial on the thermostat to the off position. Then close the cold-water supply valve on the inlet pipe and let the tank drain if the leak is heavy.
Never stand in water while touching an electric water heater or its breaker panel. Water and live current are a lethal combination.
Once the unit is off and the area is safe, dry the floor and watch where the water returns. A drip that reappears near a fitting is repairable. Water seeping from the tank seam itself means the unit is finished.
Takeaway: locate the exact leak source before spending a dollar on parts or a technician.
Why Water Heater Leaking From the Bottom: What to Do Now matters
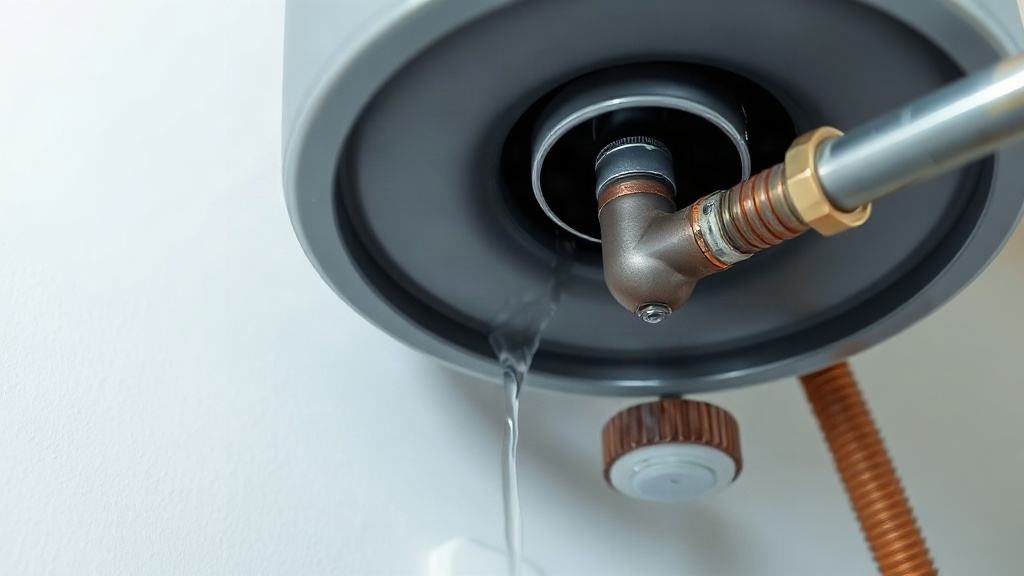
Acting fast protects three things: your safety, your floor, and your wallet. A slow bottom leak can soak subflooring, warp baseboards, and feed mold within days. A steady leak can flood a basement overnight.
The financial difference is significant. Replacing a drain valve or tightening a fitting costs very little — often the price of a valve and a wrench. Replacing a tank runs into the hundreds or low thousands, depending on capacity and fuel type. Ignoring a leaking tank rarely saves either sum. It usually adds water damage costs on top.
There is also a safety angle people overlook. Gas water heaters sit near a pilot flame. A leaking tank can put out the pilot or, worse, let gas escape if components get wet. Electric units risk short circuits and shock when water reaches the wiring compartment.
Timing matters for another reason. A tank that fails at 2 a.m. leaves you with no hot water and a flooded utility room. Shutting it down during a controlled moment beats a midnight emergency. Some homeowners with visible rust on the tank bottom choose to replace the unit proactively rather than wait for the leak to win.
A failed tank also carries hidden costs that go beyond the unit itself. Water heaters often sit in closets, garages, or finished basements, and moisture wicking into drywall or carpet padding can push a modest repair into a renovation project. Homeowners who act within the first hour typically confine the damage to a wet shop towel and a few hours of cleanup.
Insurance adjusters draw a sharp line between sudden failures and gradual ones. A burst that happens without warning is usually covered; damage from a slow drip you noticed weeks ago often is not. Documenting the leak early keeps that distinction in your favor.
Takeaway: a fast shutdown caps the cost at either a small repair bill or a planned replacement — never a water damage claim.
Best practices
Repairing the right parts and replacing the tank at the right time saves money and stress. These habits cover both.
Flush the tank once a year to clear sediment that traps heat and corrodes the bottom faster. Test the T&P valve at the same time, and glance at the floor around the base for any new staining. Set the thermostat near 120°F to slow mineral buildup and reduce pressure on the tank. If you travel often or live in a hard-water area, consider an annual inspection by a plumber; catching a worn anode rod or a slow valve drip early costs far less than a new tank.
Match the fix to the failure
If the drain valve is the culprit, drain the tank, remove the old valve, wrap the new one in thread seal tape, and tighten it snugly — not brutally. For a leaking T&P valve, test it by lifting the lever. If it drips after release, replace the valve; if water pours constantly, check for excess pressure first.
For a tank leak, no sealant or patch will hold. The pressure inside will push through anything you apply. Plan for replacement.
Know the lifespan
Most tank heaters last eight to twelve years. If yours is past ten and leaking from the bottom, replacement is the sensible choice. A new unit also comes with a fresh warranty — often six to twelve years on the tank itself.
Prepare before the plumber arrives
Write down the model and serial number. Clear a path to the unit. Photograph the leak for your records and any warranty claim. Ask the technician whether anode rod replacement could have extended your tank’s life; it is a cheap part that protects the lining from corrosion.
Anode rods sacrifice themselves so the steel tank does not rust. In hard-water areas, checking the rod every few years can meaningfully stretch heater life.
Takeaway: repair small parts, replace old tanks, and document everything for warranty or insurance.
Common mistakes to avoid
Most costly water heater leaks get worse because of a few predictable errors. Watch for these.
- Ignoring the first drip. A slow leak becomes a fast one without warning. Catch it while it is still a paper towel problem.
- Touching an energized unit. Always cut power or gas before you put a hand near the tank or wiring.
- Slapping sealant on a tank seam. It will not hold under pressure, and you lose time you could spend arranging replacement.
- Forgetting to turn off the water inlet. Draining a tank while the supply is open just refills it and keeps the leak flowing.
- Opening the T&P valve when pressure is suspect. If the valve is stuck or the tank is stressed, this can trigger a burst. Call a professional instead.
- Skipping floor protection in the meantime. Buckets, towels, and a shutoff valve protect floors while you wait for a technician.
- Choosing the cheapest replacement blindly. Poor installation quality causes many early failures. Ask for a licensed installer with a clear warranty.
Ask the installer to haul away the old tank and confirm the new unit’s warranty is registered in your name, since some manufacturers require registration within a set window. Keep the receipt and model number in your home records.
Many homeowners’ insurance policies cover sudden tank bursts but exclude damage from slow, neglected leaks. Documenting dates and photos helps if you file a claim.
Takeaway: avoid the shortcuts — most leaks turn expensive because of delay, not because of the leak itself.
FAQ
How much does it cost to fix a water heater leaking from the bottom?
A drain valve or fitting repair is typically a small parts cost plus a service call if you hire help. Replacing the tank itself costs far more, including labor and disposal. Tank shell leaks cannot be repaired cheaply because the unit must be replaced.
Can I repair a leaking bottom myself?
You can handle a drain valve swap, a loose fitting, or a tightened connection on your own with basic tools. Anything involving the tank shell, T&P valve replacement, or gas components is best left to a licensed plumber.
Should I replace the heater or repair it?
Repair makes sense when the leak comes from a fitting and the tank is under ten years old. Replace it when the shell leaks, the unit is over ten years old, or you see rust-colored water — these signal an internal failure that repair cannot fix.
How long can I wait before calling a plumber?
Call the same day for any steady leak. You can wait briefly on a drop, but keep the water shut off and the power or gas disabled in the meantime. Delays risk water damage and mold growth.
Will my warranty cover a leaking tank?
Many tank warranties run six to twelve years depending on the model. Coverage usually requires proof of purchase, installation records, and evidence the unit was maintained correctly. Read your paperwork before you sign off on any replacement.
Conclusion
A leak at the base is either a simple part failure or the end of your tank’s life, and the leak location tells you which one. In the first minutes, cut the power or gas, close the cold inlet, and dry the area so you can watch for a recurring drip. That order protects you and limits damage while you diagnose.
Repair the valve, fitting, or condensation issue yourself if you are comfortable. Replace the tank if the shell is leaking, the unit is past ten years old, or rust-colored water appears. When in doubt, or when gas is involved, call a licensed plumber and document everything for warranty and insurance purposes. Shut off the water and power now; then decide between repair and replacement with clear eyes.